Home > Support > Windows > Dial-Up Networking > Installation


Installing Dial-Up Networking - Removing Dial-Up Networking - Making a New Dial Up Networking Entry
Dialing-out/Configuring - How to Unsave your Username & Password
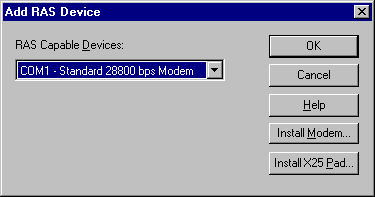
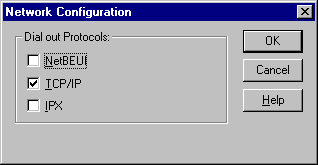
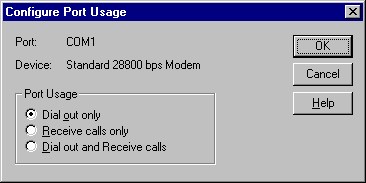


my_comp.gif (474 bytes) Double-click on the My Computer icon.
ico_wht.gif (574 bytes) Double-click on the Dial-Up Networking icon.
01_install.gif (4173 bytes) Click on the Install button to continue.
02_inst.gif (1371 bytes)

03_copy.gif (2250 bytes)

Files will be copied around the System (you may be prompted for your Windows NT CD-ROM).
04_add.gif (2684 bytes) Now select your Modem driver and click on OK.
05_setup.gif (3751 bytes) Next, click on the Network... button to choose acceptable protocols.
06_cfg.gif (2290 bytes) Remove the checks from NetBEUI and IPX, making sure you leave the check on TCP/IP.

Click on OK.

xx_cfg.gif (3715 bytes) Next, click on the Configure... button to select dial-in/dial-out options.
xx_usage.gif (2862 bytes) For improved security, make sure you only select Dial out only.

Click on OK.

07_upd.gif (1487 bytes) Setup will update the Network Bindings in your computer to support the new "Virtual Adapter" which is RAS.
08_rest.gif (3185 bytes) Finally, click on the Restart button to restart the computer.

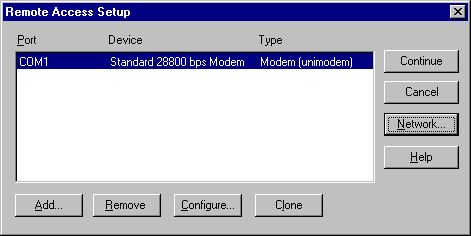
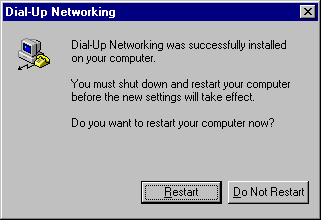
(You may be prompted to reinstall your latest Service Pack.)


All Content © 2003 OlyPen